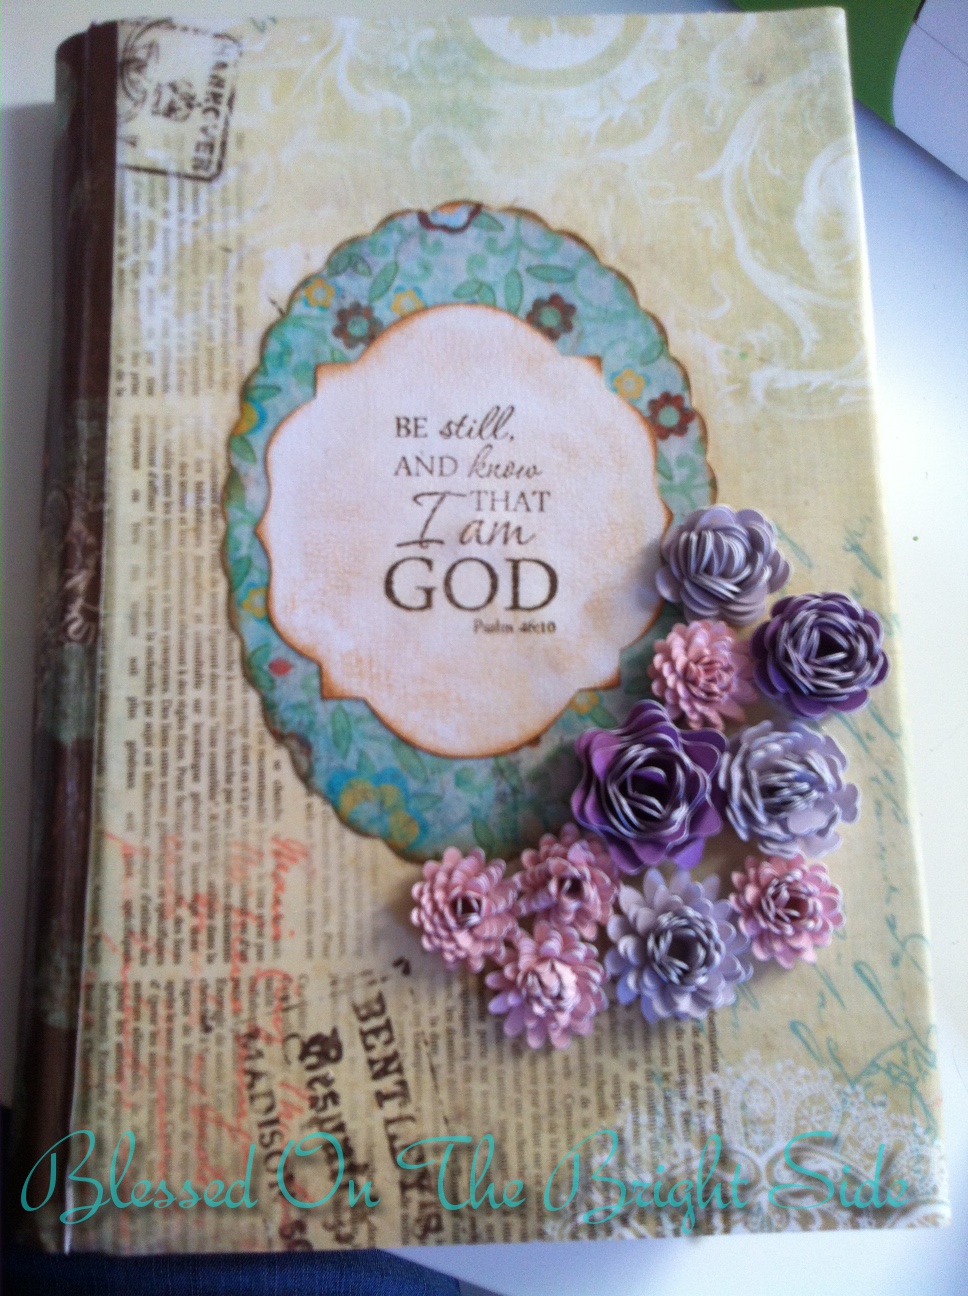
Hello Friends and Welcome to my blog! :)
Today I have my Sr. and Jr. Design teams together in this post....I gave them a challenge to come up with making a flower...had to be something different and give the recipe...so check out the awesome flowers they came up with ...WOW!!!!!!! you are gonna love some of these new ideas to make flowers!! :) Have fun! :) and now check them out! :) By the way you can click on their names and it takes you to their blog...some even have a video to see how they were made! ... (me grinning really big) hehe
Sr. DT
Kimberly
This is my all time favorite flower from the Cricurt Cartridge Flower Shoppe. It is so simple to make as well.
I simply cut out 6 pieces for this flower starting with size 2.5 and working my way down in ½ “ increments.
2 layers at 2.5”
2 layers at 2”
1 layer at 1.5”
1 layer at 1”
I inked the edges of each layer, curled them under with the smallest end of a paint brush and glued them together. I added a brad to the center for added color.
Lynne

Cricut Pagoda Cartridge cut at 1.75 inches
K & Co. Flower Garden paper
Four (4) flowers were cut at 1.75 inches.
One flower is kept whole with five (5) petals and the other 3 flowers have 1 piece cut off each of the flowers.
There has been (1) extra flower cut for the one additional piece cut.
Curl the petals with your fingers to give some shape and curl. The more the pieces are curled and handled, as long as they are handled GENTLY, they will take shape!
The two (2) pieces that have four (4) petals are then hit with the hot glue to hold the ends together with a slight seam.
The three (3) single petals that are left are folded in half with the point at the bottom.
Grasp one part of the petal and glue to another part to half of the petal first and hold together.
Fold this center section in half and glue to the final single petal.
At the bottom of this center section, where the point is located cut off the point where it gives a triangular piece.
Put a dab of hot glue in the center of the bottom petal which is the five (5) piece petals and attach one of the four (4) piece petals to the center.
Place another dab of hot glue in the center of the two pieces that have been glued together and add the other four (4) piece petal to the center.
The triangular piece then gets glued to the very center of the three (3) pieces that have been glued together. Hold this last section together to make sure all is held togeth
Tina
* Took the Giant Sheet (that's what the package said) All Occasion Wrapping paper out of package
*Unfold Once
* Cut two 12x4 Strips (Still folded from pre-packing, causes for more layers)
*Stack them on top of each other
*Accordion fold from one side of the 4" side to the Other
*Wrap a piece of wire around the middle
*Open the flower by gently pulling up one layer of paper at a time toward the center
* Spray with Tattered Angel Glimmer Mist
*Add embellishments in middle of Flower
EASY PEASY!
Zenita
Here is my flower. The recipe is an SVG file from Penny Duncan Creations, hot glue, bazzill paper, and tweezers. I have a video showing how they are made on my blog.
Carolyn
I started with a rough
circle of cream cotton, mug sized (in fact that is what I drew round), a slightly smaller circle of hessian with a backing to stop it fraying too much (iron on stuff), a smaller one of denim and even smaller one of patterned cotton. I used stazon to stamp on the plain cotton and then a distress ink to colour it slightly. I snipped into the edges of each circle at random places. To join it all together I started by putting some tacking stitches into the largest circle and pulling in a few gathers, without fastening the thread off I then moved onto the next circle, doing the same and so on until all 4 circles were joined in one place and all slightly gathered. I left the needle and thread ready to carry on sewing. I then took a strip of netting and threaded it through the shank of a white button and tied it a couple of times. Using the still threaded needle I secured the button to the flower with a few stitches that went through all four layers and fastened off on the back. I then ruffled up the flower in my hands and made a second one because flowers need friends.
Susan
Flower was cut using Mother's Day Bouquet cartridge at 3.25", 2.75", 2.25" and 1.75". The leaves were made using my Stampin' Up heart punch. I folded the heart in half and then folded the crease again. I used my bone folder to make the "veins". All was attached with adhesive.
:)
Jr. DT
I stamped this flower using 2 Martha Stewart stamps. I stamped the larger flower in black ink on red card stock then stamped a smaller flower twice. I colored all three stamps with Copic R29 and cut them out. I stacked the largest flower then the smaller using a pop foam to adhere. I cut the second small flower and reduced the number of petals then stacked it on top matching up the remaining petals. Using a fine tip glue pen I added some black glitter to the center.
For My flower I really wanted to try something different and I decided to crochet a flower.
I looked and found 3 different patterns and found that this one was the easiest one of the 3.
I really love how this rose turned out.
I used a strawberry yarn, then rolled the yarn and sewed it so it would stay the shape of the rose.
You can find the pattern over here at
http://media.leisurearts.com/downloadfiles/N_05_06_Rose.pdf
Lisa
Red Fused Plastic (will post instructions prior to Thursday)
Black Glitter Cardstock (solid core)
Spellbinders Rose Creations Die
Tim Holtz script stamp
Black embossing powder
Cranberry Embossing Powder
Glossy Accents
Perfect Pearls Powder in Pewter
Tsukineko Walnut Ink in Java
Hot glue gun
Heat gun
Jackie
Recipe
Flower shoppe cart
{sunflower} 2 @ 3inch
{sunflower} 1 @ 2 1/2
<scallop1> @ 2 1/2
4 pearl picks, silver glitter glue, white,red and distressed ink pads
Layer petals, largest on bottom. roll scallop cut into flower, add glue as you go. dab with different inks for diminsion and glitter edges add pearle picks to center.easy peasy :)
Thanks for stopping by and I hope you enjoy the flowers and makes your heart sing for spring! :) don't forget the love and come back to visit me again soon...in the meantime be blessed! :)
In His Love,
Be Inspired,
Kari


.JPG)


