Hello Friends!
How are we all doing this summer?...mine is going so fast and with ballgames and cook outs, being with friends and therapy...going to quick for me...lol...but I got to thinking I am going to have a Cold Social where I can treat my friends at my place to ice cream and popsickles and this is the invitation I plan to make ....popsickle cards and isn't that cute!! I learned this trick a few years ago making them with a Stamping Up consultant and she does it differently but I added a few things to mine ....hope you can be inspired to come up with something like that! Have fun and the recipe is below each pic... :)
How are we all doing this summer?...mine is going so fast and with ballgames and cook outs, being with friends and therapy...going to quick for me...lol...but I got to thinking I am going to have a Cold Social where I can treat my friends at my place to ice cream and popsickles and this is the invitation I plan to make ....popsickle cards and isn't that cute!! I learned this trick a few years ago making them with a Stamping Up consultant and she does it differently but I added a few things to mine ....hope you can be inspired to come up with something like that! Have fun and the recipe is below each pic... :)
 Vellum was used as a cover and I only had this last one and so I need to get some more but I stamped it and it got a little smudged but I am okay with that and the first thing you have to do is fold it in a A2 card size and make sure you use vellum glue that is available so it holds good and then at the top I crimped it to make it look like a real cover of popsickles you buy at the store ...and when you stamp make sure it dries before touching it or use starz on....I didn't have any so I used reg ink and it takes a while to dry...
 Tor the card cut an 8 1/2" x 11" in half like for an A2 card size and then fold it in half then use corner rounder and scissors to make the paper cuts and indentions like a real popsickle
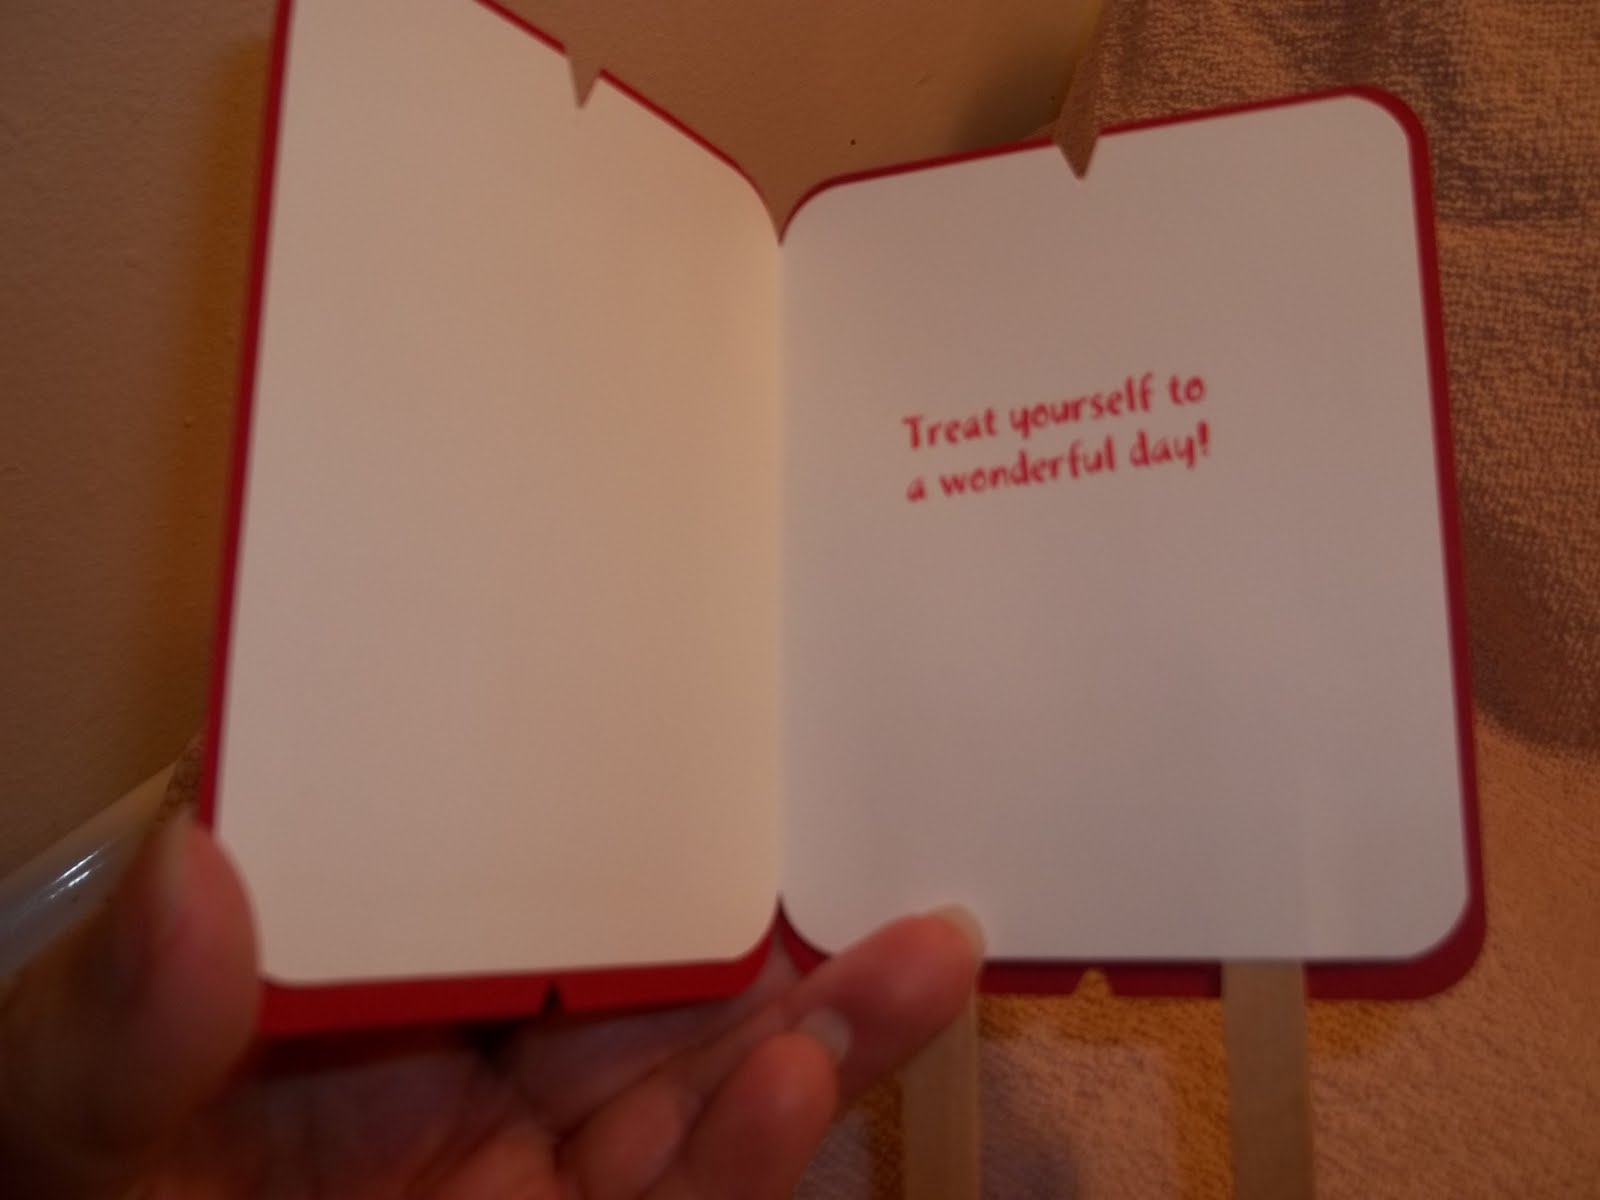 Do the same thing with the white cardstock inside of the popsickle and make sure the indentions and cuts were done the same to save me the trouble of mismatching it I put the white cardstock in while doing the red color cardstock for the popsickle and stamped it then I glued the wht cardstock down to the red but leave the bottom open so you can slide the sticks...you put some glue on the top of the sticks then onto the red cardstock and let it dry for a few mins...then you glue a small amount (I rubbed it on) the top of the sticks....to adhere the wht cardstock and voila!!
 Hope you like the cute card I made and have fun having a Cold or Ice Cream Social...hmmm..maybe I should make an ice cream one next....lol...until next time enjoy and have fun! :)
In His Love,
Be Inspired!
Kari
11 comments:
Love that!!!
This looks sew yummy!! Banana or blueberry popsicle next please! I love this idea and will most definitely have to try!
Thanks for sharing Sister.... I love it!
Lynne
I love your popsicle card. So cute!! TFS
Shawnee
http://quiverofangels.blogspot.com
De-li-cious Kari!! And you did it all by hand (no fancy machine)! I love the paper cover. You are going to have a nice time. Be sure to ask your grown up friends when WAS the last time they ate a popsicle? (esp if they don;t have kids).
too adorable... makes me want a popsicle!
what a really neat idea - thanks for sharing the inspiration.
wow this is so neat I love this idea I am going to give this a try for sure my friend thanks for sharing as always Hugs my friend Debbie
too neat
How fun is this! love it!
This is sooo caute and FUN!
Post a Comment